Cedar wooden garden sheds prove popular

Wooden garden sheds

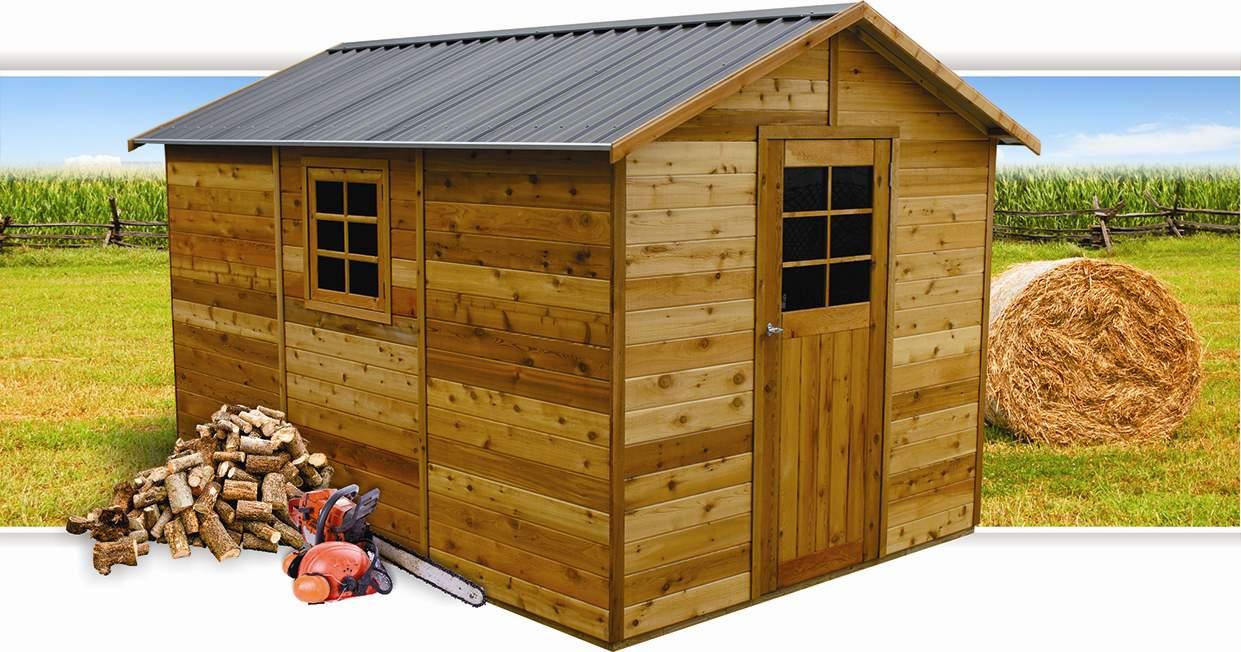
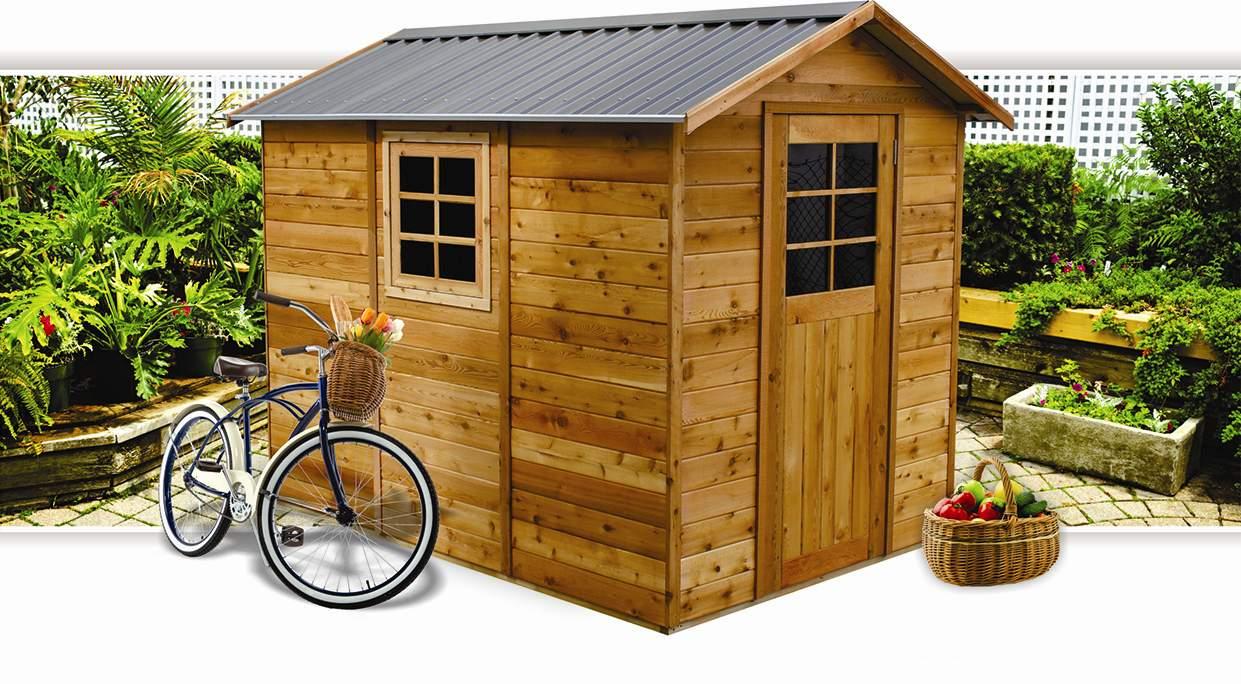
CEDARSHED OXFORD 6 x 9

The CEDARSHED range of Wooden garden sheds is proving popular with customers all over Australia. A great combination of good looks and robust construction. They offer an attractive alternative to the usual Zinc or Color steel shed. Although more expensive than the run of the mill metal garden shed, their superior appearance guarantees them serious consideration by discerning property owners.

One big advantage is the fact that different floor systems are available. Either a standard rebated timber floor suitable for installation on a firm, level surface or the heavy duty floor kit which includes foundation posts enabling it to be used on sloping sites. This can save a considerable amount of effort in site preparation.

The options of double opening doors and opening windows also enhance the viability of the CEDARSHEDS as an outdoor storage solution. With sizes ranging from the 1.9 x 0.9m BIRCH to the 3.6 x 2.5m MASTER SHED. The possibilities for practically any situation and garden storage requirement are extensive.

Find out more at http://landera.com.au/garden-sheds-timber.


Bonsai for balcony gardens – tips for maintenance and

enhancing appearance

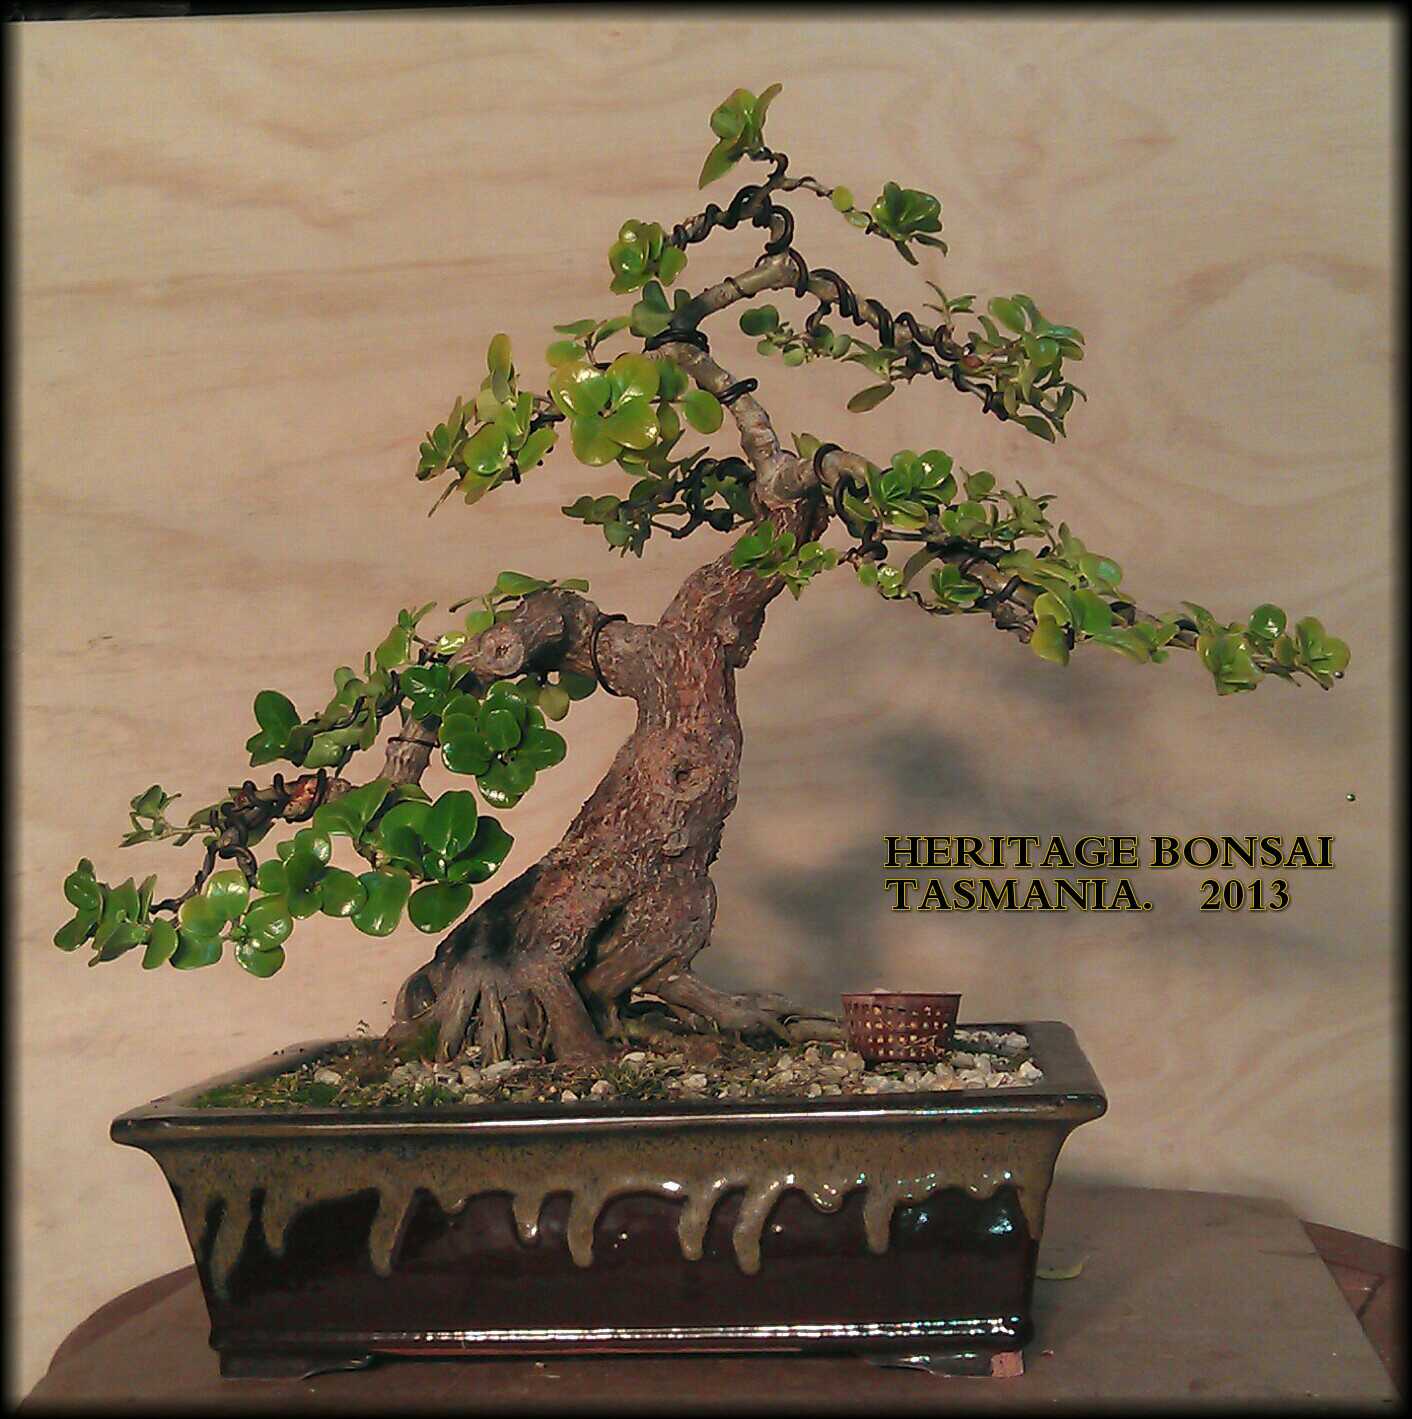
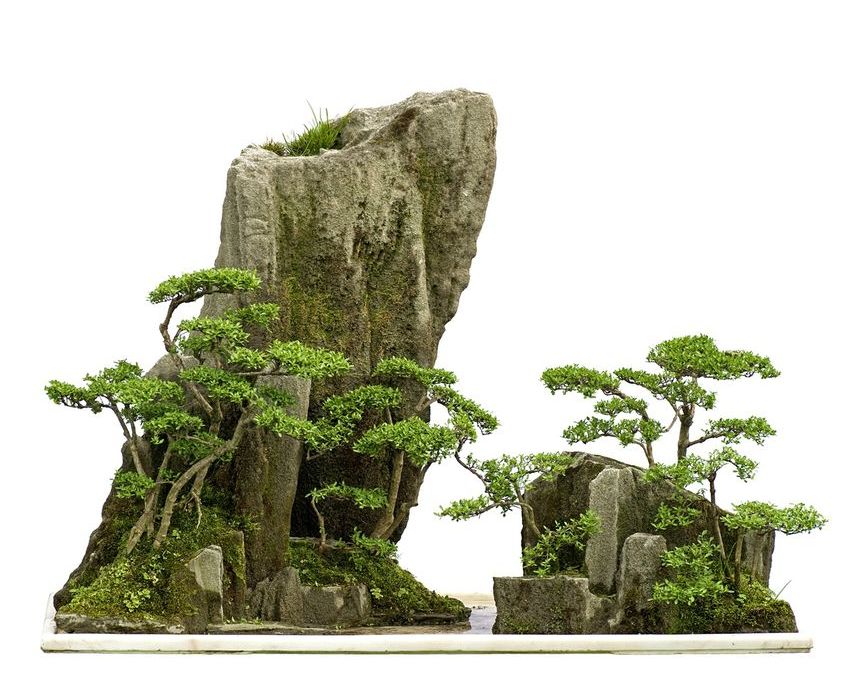
This is the last in the ‘Introduction to Bonsai’ series from Chris Xepapas at Heritage Bonsai. He refers to the importance of the root structure in bonsai – not only from a horticultural perspective, but also because the visible root structure is a vital aspect of the appearance of a good bonsai – with no visible roots it will look a bit like a totem pole rather than a miniature tree. The roots should be radially spaced around the trunk and those at the front should be particularly pleasing in appearance.

bonsai-heritage-root

Established bonsai showing good surface root development

In this blog we will address the most over looked topic, root development. The key to a good bonsai is a healthy root system; it allows you to experiment with more daring techniques, while helping your tree cope with the stress. It is also important to have a good looking surface root structure to enhance the appearance of your bonsai. 

Developing a good root system

Whether growing a tree from seed or from a cutting, you need to develop a good root structure from the beginning. A coarse aggregate should be used in the soil mix to promote duplication of the root system, thus creating fibrous rather than long thick roots. The soil mix also has to be well drained but retain enough moisture to keep the plant healthy.

When re-potting your bonsai or developing tree, remove all thick heavy roots making sure you have left enough finer roots to compensate. Some heavily pot bound trees will take several root prunes over a number of years before all larger roots can be removed. Quite frequently you will come across root spiraling on a tree, with masses of roots wrapped around the root ball. This mess must be cut off to proceed. It may seem quite savage, but if the tree looks healthy above ground, then it should survive the process.

How much of the roots should be cut off? On a developing tree you would generally take off 50% of the root structure, keeping in mind that if it is the first root prune, you may have to take off 60% to 70% to get rid of the root spiraling. On a established bonsai you would generally remove 30% of the root ball.

How often do I re-pot a bonsai?

The rule of thumb is that the older a bonsai is the less frequent you re-pot. A bonsai that is 10 years old may need re-potting every 3 years where a bonsai that is 25 years old will be re-potted every 5-6 years. If you are fortunate enough to own a bonsai 50 years old or over, you will only need to re-pot it every 8 years. Make sure that a large size mesh is used in your bonsai pot to cover the holes, not fly screen. Remember that drainage is extremely important, so don’t forget to have a layer of larger rock at the bottom of your pot.

Soil mix

The soil mix required depends on the species of tree and its needs. The general mix used is 40% organic (decomposed pine bark is often used ), 30% peat and 30% coarse aggregate – such as sifted propagation sand. When potting a pine which needs drier conditions, I would use 60% coarse aggregate 20% peat and 20% organic. Try keep the particle size down, with no large pieces of bark or rock. In Japan and other parts of the world, they use a specially prepared clay called Alkamada. This is used with no other additives, only the particle size will vary for different size trees. Because of quarantine laws, it is very hard to import this product and it’s also not very cost effective. 

Cheers

Chris Xepapas

Heritage Bonsai Tasmania           


Grow Deck mini greenhouse – a tidy and effective garden option

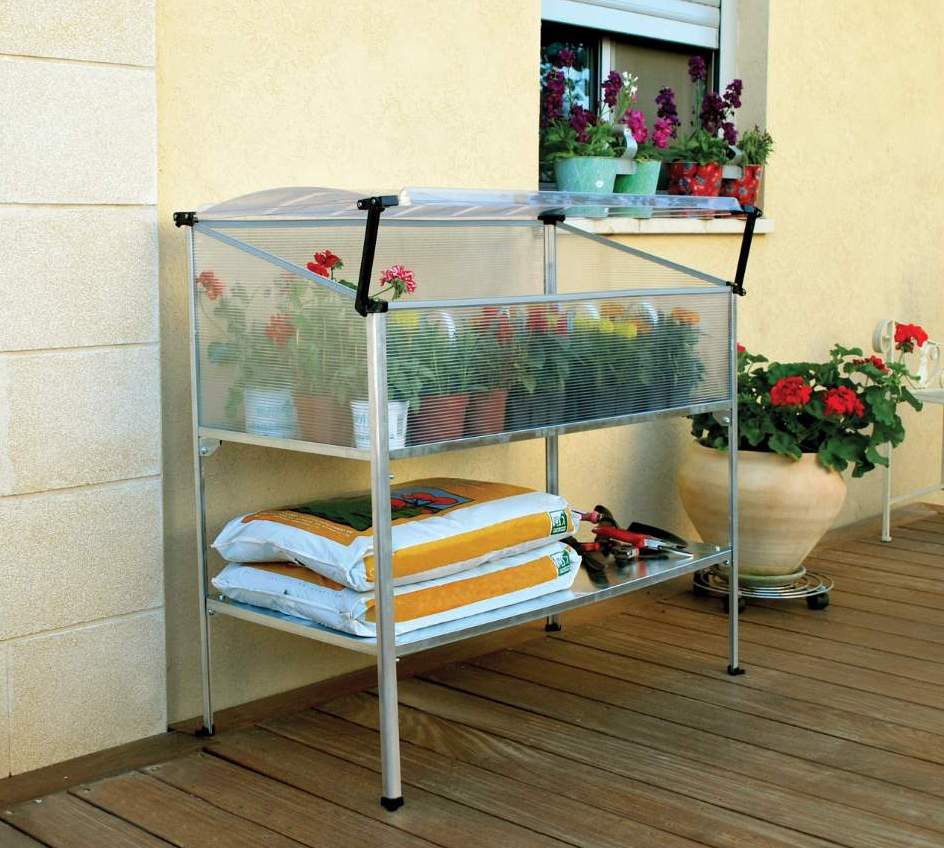
The Grow Deck mini greenhouse from the Silver Line range is a great solution if you are looking for a neat, compact unit to grow smaller flowers and vegetables or to propagate plants in space-restricted areas such as balconies, patios and small courtyards.

GrowDeck_mini_greenhouse

SILVER LINE GROW DECK MINI GREENHOUSE

With its robust aluminium extrusion frame, galvanised steel shelves and glazing of virtually unbreakable polycarbonate, the Grow Deck mini greenhouse is sturdy and easy to access. The clear polycarbonate lid can be set open to allow ventilation during the day, opened fully to allow access and when closed will protect your plants from wind and low temperatures. The Grow Deck also provides protection from birds and pets. The elevated greenhouse deck gives easy access – you don’t have to get down on your hands and knees to look after the plants. The shelf beneath the greenhouse section is adjustable and can be used to store bags of potting mix, fertiliser, garden tools and gloves. The Grow Deck mini greenhouse is supplied as an easy to assemble kit.

Greenhouse gardening is becoming increasingly popular in today’s high-pressure environment. Many people are finding that the process growing and looking after plants is a great way to relax as well as useful source of fresh produce. The Grow Deck is particularly suited to growing smaller plants such as herbs – other units in the Silver Line range can be used for plants requiring deep pots or needing plenty of room for height.


Bonsai does not need a greenhouse – ideal for balcony gardens

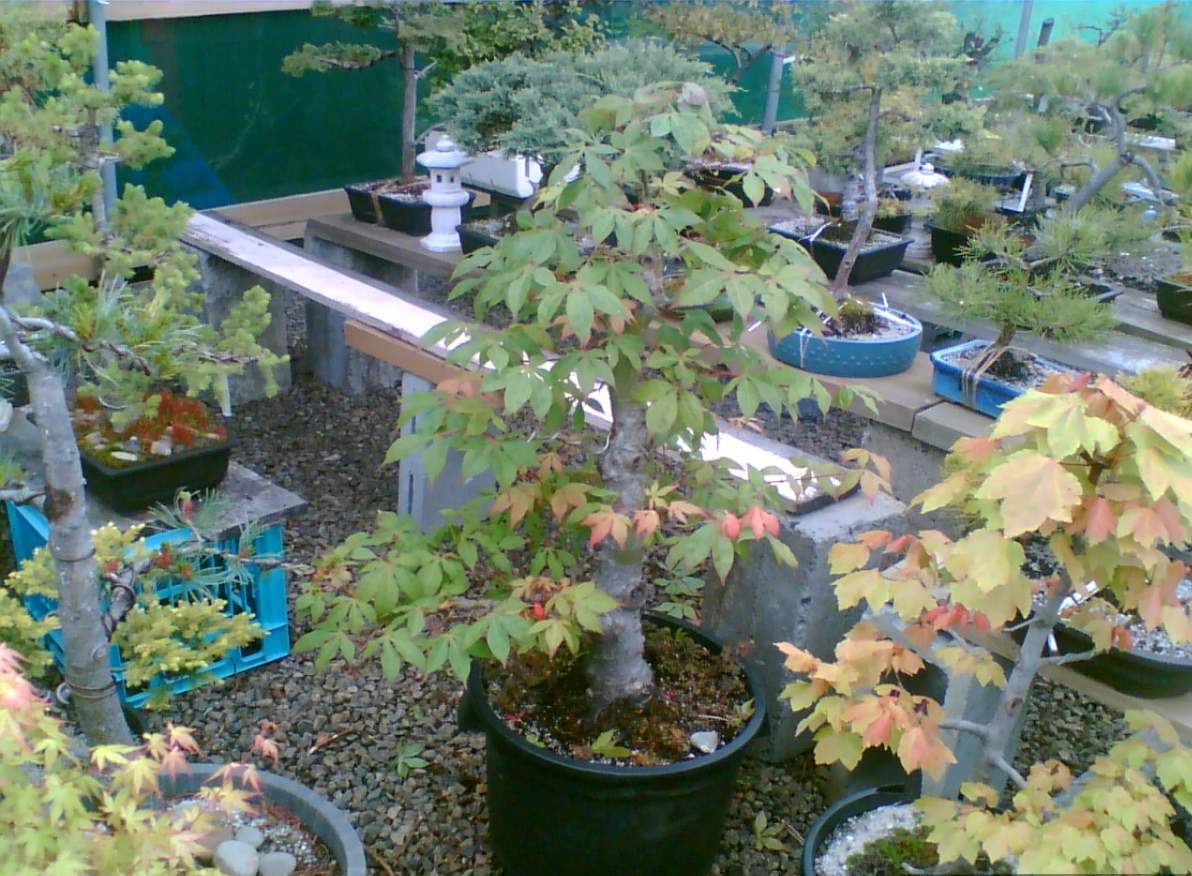
In this blog Chris Xepapas explains the process involved in developing a bonsai tree from seed.  He has chosen a Japanese maple as an example – one of the most popular trees for bonsai.
outdoor-trees-bonsai

Japanese Maple – before final potting

Propagation – when planting the seed keep in mind that the rate of the seedlings growth will depend on the size of the container. Remember not to plant the seed too deep as it needs light as well as water to germinate. A good hint is to plant lots of seeds to ensure success; you should get some trees sprouting if you plant several hundred! Keep that in mind that some seeds take longer to germinate than others.

Stage one- when your seedling is around two years old, it is time to prepare it for a life as a bonsai. In the dormant season (towards the end of winter), you must re-pot the tree into a larger growing container. At this stage the tap root has to be cut to allow the side roots to develop. When replanting the tree, you can decide to plant the tree on a angle to start developing any particular style you might have in mind. This eliminates the need to wire the trunk in the future.

Stage two- as the tree grows over the next couple of years, you will need to selectively prune the tree. We need branches coming from certain points of the trunk to fall within bonsai aesthetic designs. As the maple grows you will be presented with junctions of growth which have three shoots in one. The strongest shoot, which is usually the middle one, will have to be removed. It is advised that only two possibilities come from one point. This makes sure that design looks natural and you don’t get unwanted bulges of growth in the upper area.

 The first (lowest) branch can be either extend to the left or right. The second branch should be a little further up and at the back. The third should extend in the opposite direction to the first branch. Next another back branch, and we repeat the process until we reach the desired height for the style. The tree apex also needs to lean slightly forward. Remember, this process will take some years. Every three to four years, the tree needs to be re-potted and the nebari (surface root structure) can be developed .

Stage three- the tree should now be starting to look like a little bonsai. If you are happy with the trees trunk thickness and height, you can pot the tree into a bonsai pot. Be warned that once the tree goes into a bonsai pot, it will slow right down in growth so if you want that trunk thicker, leave it in its larger container.

Stage four- When settled into the bonsai pot you can start to refine the branch structures. Sub branches should be developed off the main branches, on a left/right pattern with spaces between them, never opposite to one another. Then more sub-branches off the sub-branches. This will also take several growing seasons to achieve.

Stage five (final) – the bonsai should be looking great now, but how can we improve it even more?

You might decide that the tree needs changing to another pot to enhance it further.

 Another way to improve your tree is by leaf reduction. This is done by defoliating 50% of the trees foliage during late spring. The new growth that comes out will be smaller – but you should only do this if your tree is healthy.

Lastly let light penetrate the trees inner branches to allow back budding. This is done by:

 1 – Let the first flush of growth in spring grow out to four + pairs of leaf growth, then prune the growth back to the first pair of leaves.

 2 – Two weeks later clip off one of the two leaves left. This will lighten up the appearance of the tree and you should get back budding.

Remember that deciduous trees are best displayed in winter without foliage to show off the branch structure.


Chris Xepapas

Heritage Bonsai Tasmania


Greenhouses have been around for 20 centuries!

Greenhouses have been in use for at least 2000 years. The earliest examples of course were not anything like the polycarbonate plastic greenhouses available today, but the basic concept was the same – to provide an environment which protects plants from the extremes of cold and heat, winds and the damage caused by various pests. Greenhouses are also used to extend a plant’s growing season and even to enable a gardener to grow non-native plants which would not survive in the open.

One of the first known examples of a greenhouse was the ‘specularium’ constructed for the Roman emperor Tiberius, who was advised by his physicians to eat a cucumber every day. This greenhouse apparently featured stone walls and a translucent roof which was made from small pieces of mica to let in the sunlight. Heating was provided by fires burning against the outside of the stone walls.

The modern greenhouse concept was developed in the 1500’s by botanists and collectors interested in propagating exotic species of plants discovered by explorers. An early greenhouse with glass roof and walls was built in Holland by the French botanist Jules Charles who wanted to grow tropical plants. (The Netherlands has certainly maintained and expanded this tradition – huge areas of land are covered by greenhouses and hothouse vegetables and flowers are grown in enormous quantities; if you look at The Hague, Netherlands on googlemaps.com you will see that almost half the city is made up of commercial greenhouses. Visitors to The Hague notice the glow in the night sky of lights which are left on to assist plant growth).

During the 1600’s glasshouses became fashionable with the aristocracy in Europe, and increasingly elaborate and expensive examples where built in various places. The orangerie at the Palace of Versailles constructed during the reign of Louis XIII was over 150 metres long, 12 metres wide and nearly 14 metres high. Of course, the immense cost of such a project was of no consequence to the king, but as glass was very expensive in those times, greenhouses were strictly a luxury item for the very wealthy.

By the mid 1800’s glass was being produced in large quantities and the cost was greatly reduced. Glasshouses became more common and some amazing examples were built. One which still stands is the Palm House in the Kew Gardens. This took 4 years to build and was completed in 1848. It featured an iron framework with open spaces free from pillars and utilised design concepts based on shipbuilding, which was also undergoing the radical change from wooden construction to iron.

Since then design and construction has evolved, and these days greenhouses are readily available in a wide range of types, sizes and price ranges. Frame construction, traditionally using timber, has moved through steel to extruded aluminium sections and glass is often replaced with plastics such as polycarbonate which has excellent light transmission qualities and is virtually unbreakable.


The new Woodland High plastic shed is a winning outdoor storage solution!

woodland-high-plastic-garden-shed

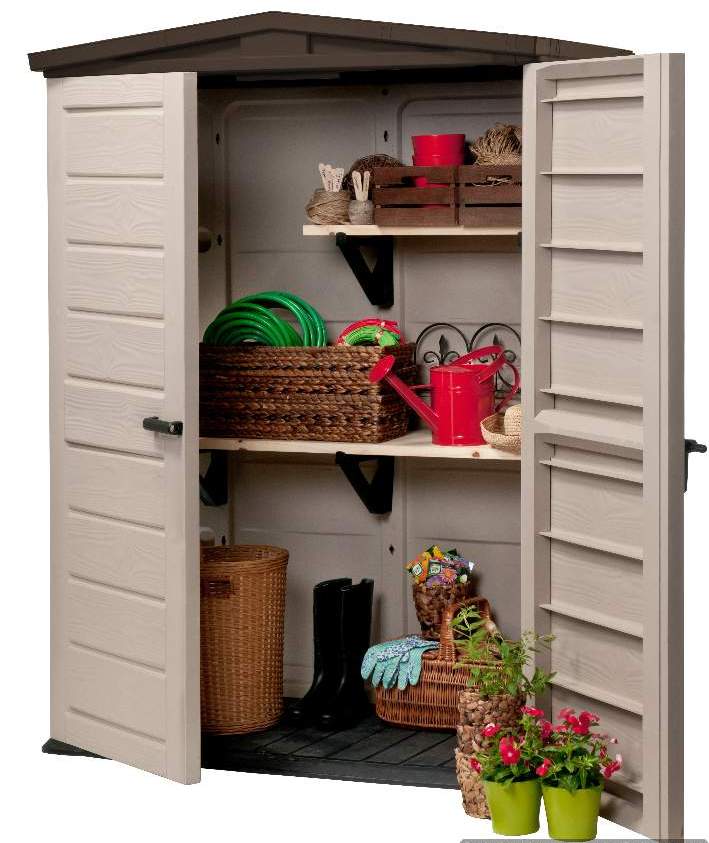
Keter WOODLAND HIGH Vertical Shed

The new Woodland High plastic garden shed manufactured by Keter is a stylish vertical outside storage cabinet with a wide double door opening.  Constructed from quality UV-stabilised polypropylene resin, the Woodland High is a sturdy and secure solution to storing household items outside. The unit is easy to assemble using commonly available tools and is virtually maintenance free because it will not rust, dent or peel.

Another major advantage of the Woodland High plastic shed is that the floor panel is an integral part of the structure – you don’t need to have a concrete slab to install it on to provide dry, weatherproof storage. The double door has a clear opening of 1300mm and the bolt is lockable and the wall panels have an attractive wood grain appearance.

The Woodland High is on special at Landera for the month of September – so it is well worth looking at while the going is good! Plastic sheds are an attractive alternative to the more common metal shed.

Outdoor storage is becoming an option that more people are considering and using. It simply makes sense to free up valuable storage space inside the home by moving toys, sporting equipment, garden gear etc, into a weatherproof and secure location outside. The available range of suitable outdoor storage boxes, benches and cabinets, as well as garden sheds provides for practically any situation and need. The units currently on the market are not only useful, they are an attractive addition to any outside space.


Adding bonsai to balcony gardens – what tools do you need?

In this blog, Chris Xepapas from Heritage Bonsai discusses the tools you need to create and maintain bonsai. While there is quite a selection of specialised tools which have been developed for use with bonsai, most can be improvised from common garden or household implements. Bonsai tools are readily available online – check out www.stonelantern.com and www.orientbonsai.com.au for pictures and pricing of the items described in the blog.  landera_bonsai_blog

BONSAI – AN INTRODUCTION – PART 5

There are many tools used for bonsai creation and maintenance. I will list both bonsai tools and alternative tools that can be used that are readily available and more affordable.

Scissors – There are many varieties of scissors with different purposes for bonsai. General purpose trimmers include:

  • Long handled scissors which allow the user to get in amongst the branches without their hand breaking any delicate parts.
  • Leaf trimmers- used to defoliate a tree.
  • Root shears – used to cut roots when repotting trees.

All the above scissors can be replaced with ordinary household scissors, although the effectiveness of the job will be reduced.

Branch cutters – available in different sizes and used to remove branches. These can be replaced for most purposes with a pair of secateurs, although this will limit how close you can cut to a trunk line.

  • Knob cutters – used to remove stubs left when a branch is cut off. Unfortunately, there is no tool that can replace this one. Sometimes called a concave branch cutter, it is almost like a surgical tool because it is extremely sharp and precise. It can cut right up to the trunk of the tree, leaving no snag at all.
  • Wire cutters- designed to remove wire. You can use general wire nippers but care must be taken not to damage the bark.
  • Jin pliers- used when creating jin (dead branches ) on bonsai. Any pliers can be used.

Bending jacks – specialized bending tools/clamps used to bend thick branches and trunks.

There are many more tools for specialized jobs but the above are the essentials for bonsai work.

Accessories

  • Heal paste – this comes in various brands and types. It is applied to open cut wounds to aid in the healing process, and also used to prevent rot on bare wood.
  • Raffia – for protecting bark on a tree when heavy wiring and bending is required.
  • Fertilizer – also available in many forms but be warned – apply it in diluted doses.
  • Pots- once again, available in many forms and depending on your style, and tree species, depends on what pot you use. Generally a conifer would require a earthenware pot, whereas a maple would look good in a glazed pot.
  • Turn table or lazy Susan – used when working on a bonsai and allows you to spin the tree around freely and effortlessly. Available in many sizes and types; generally a cheap $10 turn table will do the job .

Most tools and accessories can be substituted with every day garden tools but the fact remains that the Japanese tools are superior and a pleasure to use. I would strongly advise NOT to use Chinese bonsai tools. They are crude at the best of times and you would risk damaging your trees.

 Cheers

Chris Xepapas

Heritage Bonsai Tasmania
 

Â